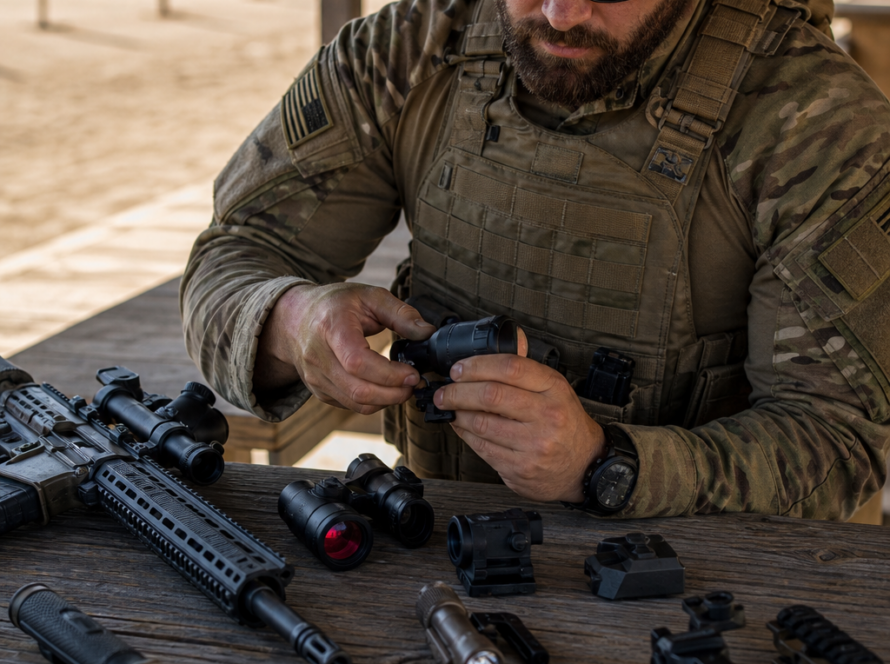
A suppressor takes a beating that few other parts of a firearm see. Every shot pushes hot gas, unburned powder, lead, copper, and carbon into a sealed tube, and much of that material stays there. Left alone, that buildup hardens into a rock-like crust that adds weight, makes disassembly difficult, and eventually affects how the can performs. Cleaning a suppressor is not complicated, but it does reward patience and the right supplies.
This guide walks through the supplies worth having on the bench, the soak and scrub routine most shooters settle into, and the small habits that keep baffles and threads in good shape for years. Always confirm the specific cleaning method with your suppressor manufacturer first, since materials and coatings vary from one model to the next.
Why Suppressor Cleaning Matters
Carbon and lead fouling accumulate in layers. The first few range sessions leave a thin film. Keep shooting without cleaning and that film bakes into a hard deposit that traps moisture and makes the baffles stack stick together. Once the stack seizes, removing it without damaging the tube becomes a real problem.
There are practical reasons beyond preservation. A fouled suppressor gets heavier, and the extra weight sits at the muzzle where it changes how the rifle handles. Baffle erosion tends to concentrate where fouling holds heat against the metal. Keeping the internals reasonably clean helps the can keep doing its job and makes every future cleaning session shorter than the last.
The single most common mistake is waiting too long. A suppressor that gets a light cleaning after each range trip will never develop the concrete-hard deposits that turn a twenty-minute job into a multi-day soak.
Supplies Worth Having on the Bench
A modest kit covers almost every situation. Assemble these before you start so you are not hunting for a brush with a fouled baffle stack sitting on the bench:
- A suppressor stand or cleaning stand to hold the tube steady while you work
- A CB Suppressor Funnel or similar funnel for directing solvent into the tube
- A dedicated suppressor cleaner formulated for the task
- Powder solvent for general carbon loosening
- A gun cleaning brush with plastic bristles
- Nitrile gloves and eye protection
- A container deep enough to submerge the parts being soaked
- Anti-seize for threads and mating surfaces at reassembly
- Optional: a wet tumbler with stainless steel pins for heavy baffle cleaning
Keep the suppressor-specific items separate from your general gun cleaning supplies. Cross-contamination is easy to avoid with a small dedicated tray, and it makes cleanup faster.
Safety and Material Considerations
Suppressor fouling is not just carbon. It contains lead compounds and other residue that you do not want on your skin or in your lungs. Wear gloves, work in a ventilated space, and avoid dry brushing inside a sealed tube where dust can go airborne. Wash your hands after handling solvent and fouling, and keep food and drink off the bench entirely.
Material compatibility matters more than most people expect. One widely discussed DIY approach uses equal parts vinegar and hydrogen peroxide, but that mixture is for stainless steel only. It should never go into aluminum or titanium components. Even on stainless, it is a soaking solution, not a soak-and-forget solution. Follow the manufacturer’s guidance on any chemical you introduce to the can.
Step-by-Step Suppressor Cleaning
Step 1: Disassemble and Inspect
Break the suppressor down according to the manufacturer’s instructions. Set the tube aside and lay the baffles out in order so they go back the same way. Take a minute to look at what you are dealing with: light carbon film needs only a solvent and a brush, while heavy crust calls for a longer soak or a tumbler run.
Step 2: Loosen the Bulk of the Fouling
Wipe what you can from the baffles and the tube interior with a solvent-dampened patch or cloth. Use a powder solvent and a gun cleaning brush with plastic bristles to work at the baffle faces. Plastic or nylon bristles are the right choice here because metal brushes can scratch baffle surfaces and coating.
Step 3: Soak With a Suppressor Cleaner
This is where most of the work gets done. Place the baffles in a suitable container or stand the tube upright with a funnel so the cleaner reaches the full interior, then let it sit. A 24 to 48 hour soak will give you an absolutely clean suppressor, and it helps to agitate the fluid roughly every 12 hours to keep the chemistry working against fresh surface.
Agitation does not mean scrubbing. A gentle swirl or a shake of the container is enough to lift loosened carbon away from the metal and let the cleaner reach the layer underneath.
Step 4: Scrub and Rinse
Pull the parts from the soak, brush the softened fouling away with the plastic-bristle brush, and rinse thoroughly. Repeat the brush and rinse cycle on any baffle that still has visible deposits before returning it to the soak. Gloves stay on for this entire stage.
Step 5: Optional Tumbler Run for Stubborn Baffles
For baffles that resist soaking, a wet tumbler works well. Fill it with stainless steel pins, warm water, and a splash of dish soap such as Dawn, add the baffles, and let it run. Many shooters set it and forget it for a few hours, then rinse and inspect. Keep stainless pins and wet tumbling to the parts the manufacturer says can take that level of agitation.
Step 6: Dry Completely and Reassemble
Moisture left inside a suppressor is a problem. Dry every part thoroughly with compressed air or a clean cloth, then let the pieces air out before assembly. Apply a thin film of anti-seize to the threads and mating surfaces so the stack comes apart easily next time. This step is especially important on rimfire cans, where shooters commonly report using anti-seize after wiping the baffles down.
Comparing Common Cleaning Approaches
| Method | Best For | What to Watch |
|---|---|---|
| Solvent soak plus plastic brush | Routine carbon removal on most baffles | Agitate every 12 hours; use plastic bristles, not metal |
| Equal parts vinegar and hydrogen peroxide | Stainless steel components only | Never use on aluminum or titanium; soak days, scrub with gloves |
| Wet tumbler with stainless pins | Heavy fouling on baffles that can take agitation | Warm water and a splash of dish soap; confirm part compatibility |
| Suppressor-specific liquid cleaner | Deep soak of the tube and baffle stack | Follow the product directions and the maker’s guidance |
Mistakes That Shorten Suppressor Life
Most suppressor damage comes from impatience rather than shooting. A few habits to avoid:
- Prying at stuck baffles with hard tools instead of soaking them free
- Using metal brushes or abrasive pads on baffle faces
- Leaving vinegar and peroxide mixtures in contact with the wrong metals
- Reassembling while parts are still wet
- Skipping anti-seize and then fighting the stack apart months later
- Letting fouling bake through several range sessions before the first cleaning
Solvent choice is another place to slow down. Read the label, check the material of your baffles, and when in doubt, contact the manufacturer. A five-minute question beats a ruined can.
How Often Should You Clean a Suppressor
Fouling rate depends on the cartridge, the powder, the suppressor design, and how much you shoot. Rimfire cans tend to build lead and wax deposits quickly and often need attention sooner than centerfire rifle suppressors. The practical rule is to inspect after every range session and clean before deposits harden. Heavier range days and full-auto use push the schedule tighter.
Track your round counts and note when disassembly starts to feel sticky. That stickiness is the early warning that the cleaning interval is too long.
Storage and Long-Term Care
Store suppressors clean, dry, and lightly protected. A thin coat of oil on the tube exterior helps against moisture, while the inside should be dry before the unit goes back together. Keep a small log of cleaning dates and round counts, and check threads for wear once a year. If you notice erosion, a loose mount, or a baffle that no longer seats properly, contact the manufacturer rather than continuing to shoot.
Buying your next can, mount, or cleaning accessory from a retailer that ships through a licensed dealer keeps the paperwork straightforward. Confirm current federal and state requirements with the relevant authorities before any purchase, since rules vary by location and can change.
Frequently Asked Questions
Can I use vinegar and hydrogen peroxide on any suppressor?
No. Equal parts vinegar and hydrogen peroxide is a stainless steel only approach. It should not be used on aluminum or titanium parts, and it needs to be handled with gloves in a ventilated area. Check with your suppressor manufacturer before using any DIY mixture, since coatings and alloys differ between models.
How long should a suppressor soak?
A 24 to 48 hour soak will give you an absolutely clean suppressor. Agitate the fluid roughly every 12 hours so the cleaner keeps contacting fresh surface. Longer soaks help on heavily fouled baffles, but always follow the directions on the product you are using rather than guessing at times.
Do I need a wet tumbler to clean a suppressor?
Not necessarily. A solvent soak plus a plastic bristle brush handles most routine cleaning. A wet tumbler with stainless steel pins, warm water, and a splash of dish soap is useful for baffles that resist soaking, provided the manufacturer says the parts can take that level of agitation.
Should I apply anti-seize when reassembling?
Yes, a thin film on the threads and mating surfaces is a common practice and makes the stack far easier to take apart later. Rimfire shooters in particular report applying anti-seize after wiping the baffles down. Keep the layer thin so it does not attract excess fouling.
How do I know when the suppressor is clean?
Look for bare metal on the baffle faces and a tube interior free of soft residue. If a patch comes out clean and the stack slides together without force, you are done. If baffles still feel gritty or sticky, return them to the soak rather than forcing them apart.
Clean equipment shoots better and lasts longer. A routine of inspect, soak, brush, dry, and reassemble takes a little discipline up front and pays it back every time you mount the can and head to the range.